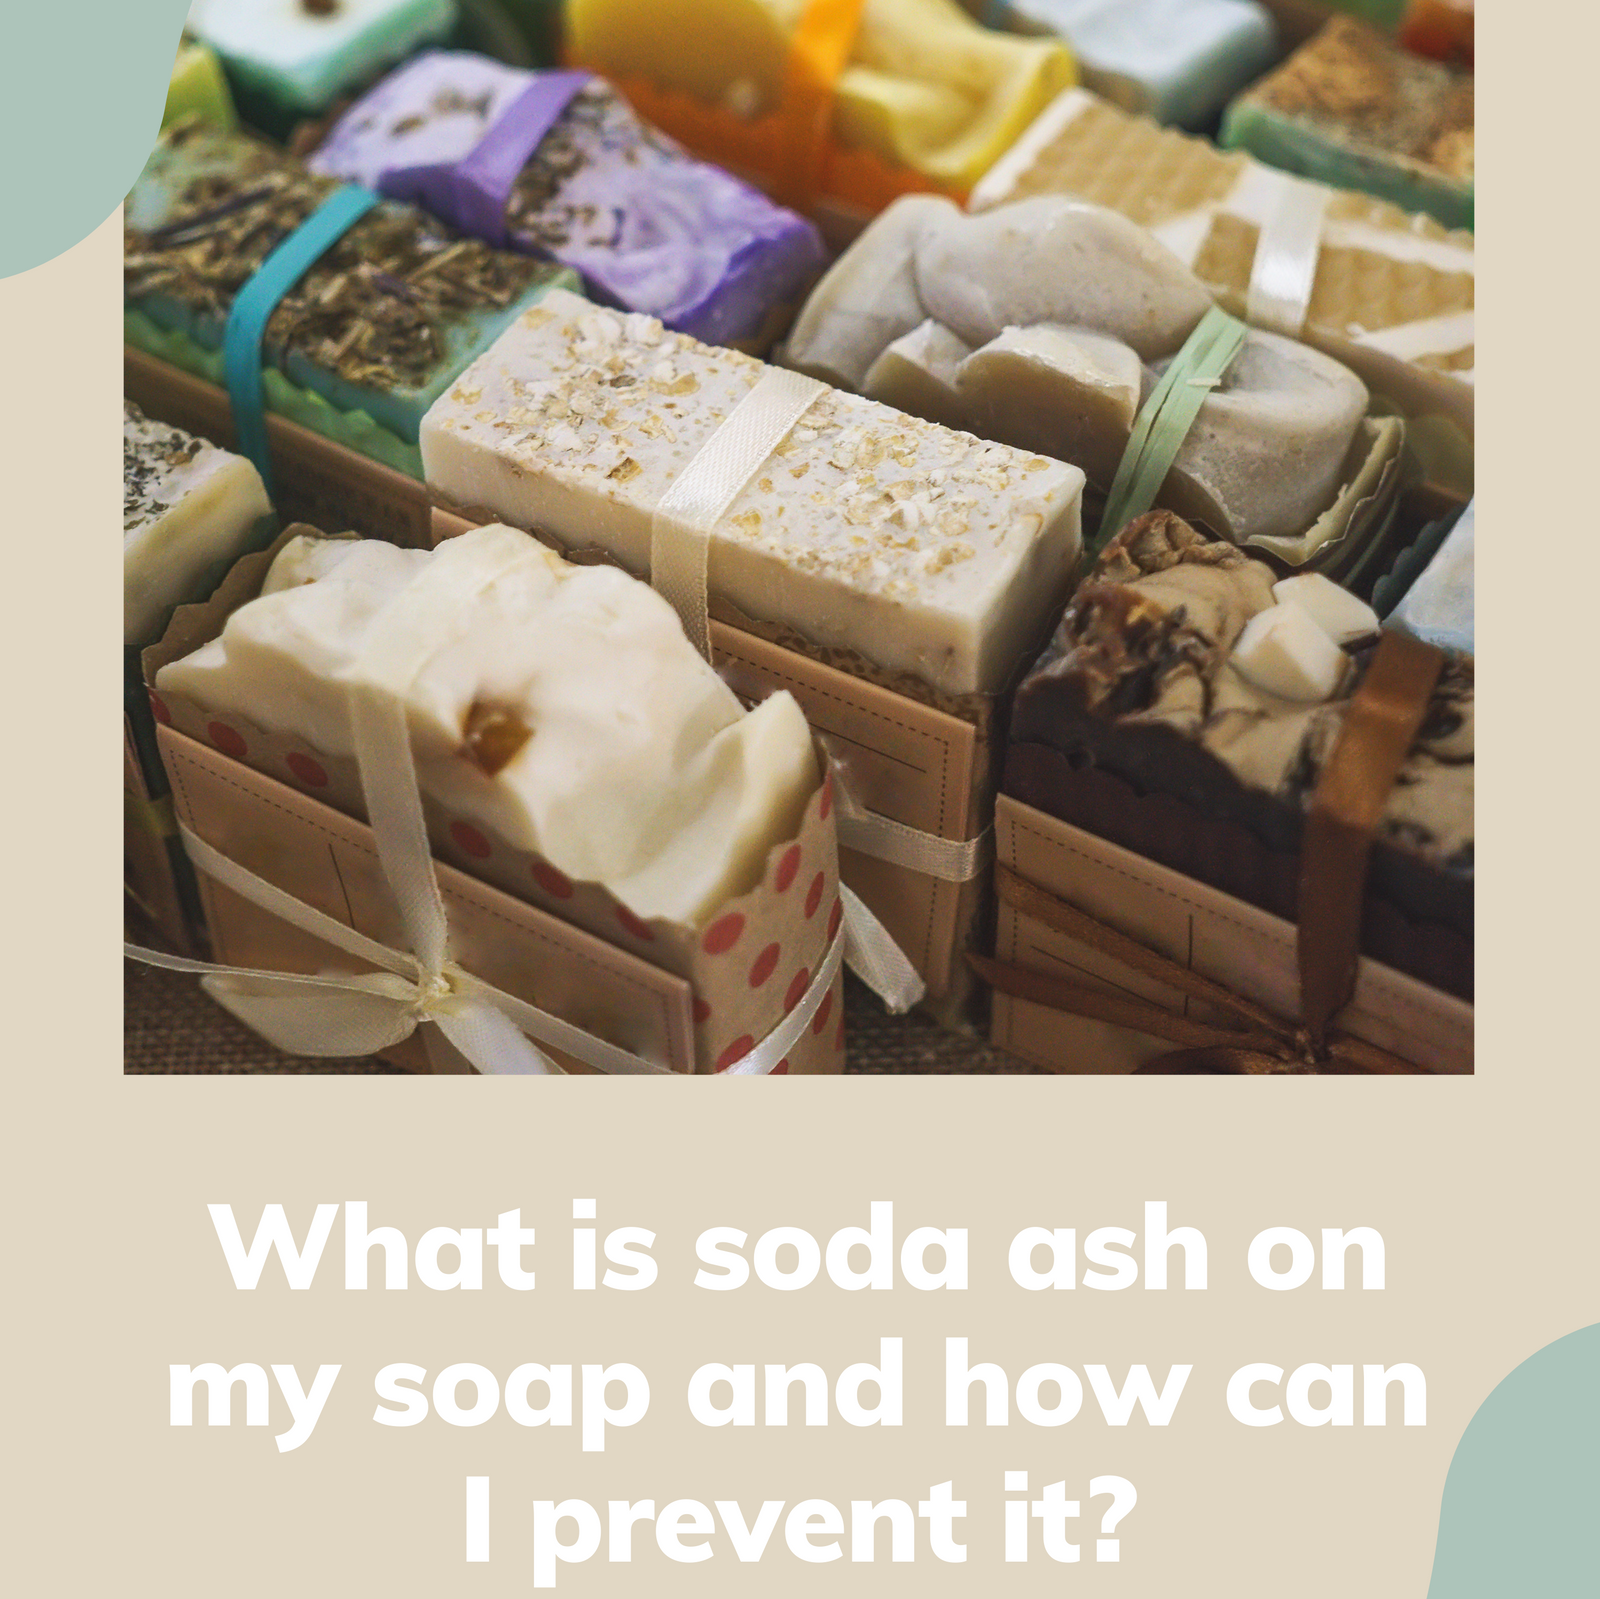
What is soda ash on my soap and how can I prevent it?
What does soda ash look like?
How can I prevent soda ash and what can I do about it if my soap has it?
Soda ash is one of those super annoying gremlins of the cold process soap making world.
It shows itself as a white powdery coating on the top of your soap and sometimes, depending on the kind of mould you are using, even down the sides of your soap. There are even occasions when it can be seen running through your soap as in the photograph below.

It is purely an aesthetic issue. By that I mean it may not look very attractive but it is completely harmless and does not detract from the effectiveness of your soap. Indeed. in some circumstances it can add to the overall effect. A black and white soap for example may be enhanced by the white topping that soda ash provides or it may create the appearance of white waves on blue soap. Generally however most of us prefer to avoid it if we possibly can.
What is soda ash?
Soda ash is formed when the sodium hydroxide in your newly made soap batter reacts with the Carbon Dioxide in the air before saponification is complete.
For those of you interested in the chemistry side ( yes that is me) the chemical formula of sodium hydroxide is NaOH and the chemical formula of Carbon Dioxide is CO2. The chemical formula of soda ash is Na2CO3.
What can I do about soda ash once I have found it on my soap?
You have a few options here.
- Leave it. If your soap is just for you and your family and you are not too concerned about the appearance then just use it as it is, it will soon disappear as you use the bar.
- Wash it off. You can wash it off in water but this is not something I would recommend if you are looking to give your soap to a friend for example as it would be difficult to maintain that new bar appearance.
- Steam it off. I have had some success with this method for minor soda ash. The steam from a kettle or steam iron held over the ash for seconds or so can reduce it and you can also rub it with a gloved finger or microfibre cloth. Some steam cleaners have an overn cleaning attachment which allows you to aim a jet of steam and this would be well worth a try.
- If all else fails and if it is a thick layer of soda ash then slice the top off the bar and then bevel all the edges. No-one will ever know 😉
How can I avoid soda ash in the first place.
Prevention is always better than cure as they say.
- Water discounts are a lifesaver for this. In my beginner classes I always use 33% water. Soap calc automatically defaults to 38% water. I have no idea why - that is ridiculously high and I can see no reason why you would ever use that much. 33% is a good figure for beginners. It gives you a reasonable amount of time to work with your batter and get it in the mould without it turning into a blancmange like consistency in the majority of cases. However it does often result in soda ash still. I have found the sweet spot to be around 27% water. It generally eliminates all soda ash BUT it comes at a price. You will generally have less time to work with your soap batter before it thickens up. Not idea for a first batch hence why I use 33% for the soap making classes.
- Work at a higher temperature - aim for nearer 120f. This however once again has the effect of speeding up saponification and your soap batter will thicken more quickly so you need to move a little faster.
- Keep your soap warm and ensure it gels right through after putting it in the mould. I ask students to bring a towel with them and we wrap their box of soap in the towel after making to help it stay warm. This is not so much of an issue in the summer as the ambient temperature keeps it warm and we do not want the soap to overheat as it will then crack down the middle as the heat causes it to expand.
All the above methods rely on speeding up saponification so that there is less opportunity for the sodium hydroxide to react with the CO2.
There are a couple of barrier methods you can also use. Preventing contact between your soap and the air will interrupt the process. Covering your soap with plastic film or some other cover for the first 24 hours will help.
Alternatively spray a layer of isopropyl alcohol on top of your soap to create a barrier. This works best if you spray one layer, leave it several minutes and then do a second layer. And as I always say to my students 'Don't skimp on the alcohol!'
If you have any other top tips for eliminating soda ash do let me know. I am always interested in hints and tips that can help us all.
White Diamond Sparkle Mica in a nice layer across the top tends to seal in my bar & prevent all ash. Not for everyone… works for me.
Hi Carolyn, reducing your water will definitely help
So your preference of 27% water would be close to a 2:1 water to lye ratio if you use the water as percent of oil weight in SoapCalc? I use 35% Lye Concentration (in SoapCalc) and still get ash. Dries me crazy. I can’t find the ‘sweet spot’
Thanks for the info.
Leave a comment