Using clays and other natural colourants to colour your soap
Who doesn't love the gift of a pretty bar of soap? Whilst a plain bar has it's own beauty if you are a bit of a soap nerd like me I also love the creative aspect which makes learning how to make your own coloured soap a bit of a win win in my eyes.
Creative, practical, useful and calorie free. Yippee.
If you know anything about me and my soap making you will have picked up that I like to keep things as natural as possible , for this reason I tend to stick with natural colourants too.
So lets jump right in, what natural colourants do I use in my soap making workshops?
Coloured cosmetic clays are right up there at the top, whilst they are not the most vibrant shades they are easy to use, naturally derived and can offer benefits to your skin, helping to draw out toxins. The clays we use are often used in face masks and the such like. The most common coloured clays are French green, French pink, Red, Rhassoul, French yellow, Brazillian purple and you can also get whitish colours such as bentonite and kaolin clay. Activated charcoal powder is another favourite of mine although it does give you a black lather and leave black stains on your sink but this does wash off.

The soap above is coloured using a red clay although you will see it appears more of a salmon pink, obtaining a true red in soap can only be achieved with artificial colourants.
You can also use powders, herbs and spices that you can find in your kitchen. I always have paprika, tumeric and cocoa powder to hand. I find all of these give a deeper shade than clays. Many of my students love to use tumeric in particular, it really does give the most beautiful yellow through to orange shades.
Cocoa powder is another favourite, and is fantastic for giving a lovely, long lasting chocolate shade. Spirulina powder is good for a shade of green. The scent of these additives do not generally carry through which in the majority of cases is a bonus - less so for the cocoa powder. Just imagine chocolate orange soap mmmmmm ! Some herbs and spices will give a speckled and sometimes slightly scratchy texture depending on the method you use to add them to your soap but not enough to be a problem in my view.

From left, green clay, paprika, cocoa powder swirls, green clay and finally alkanet root on the right.
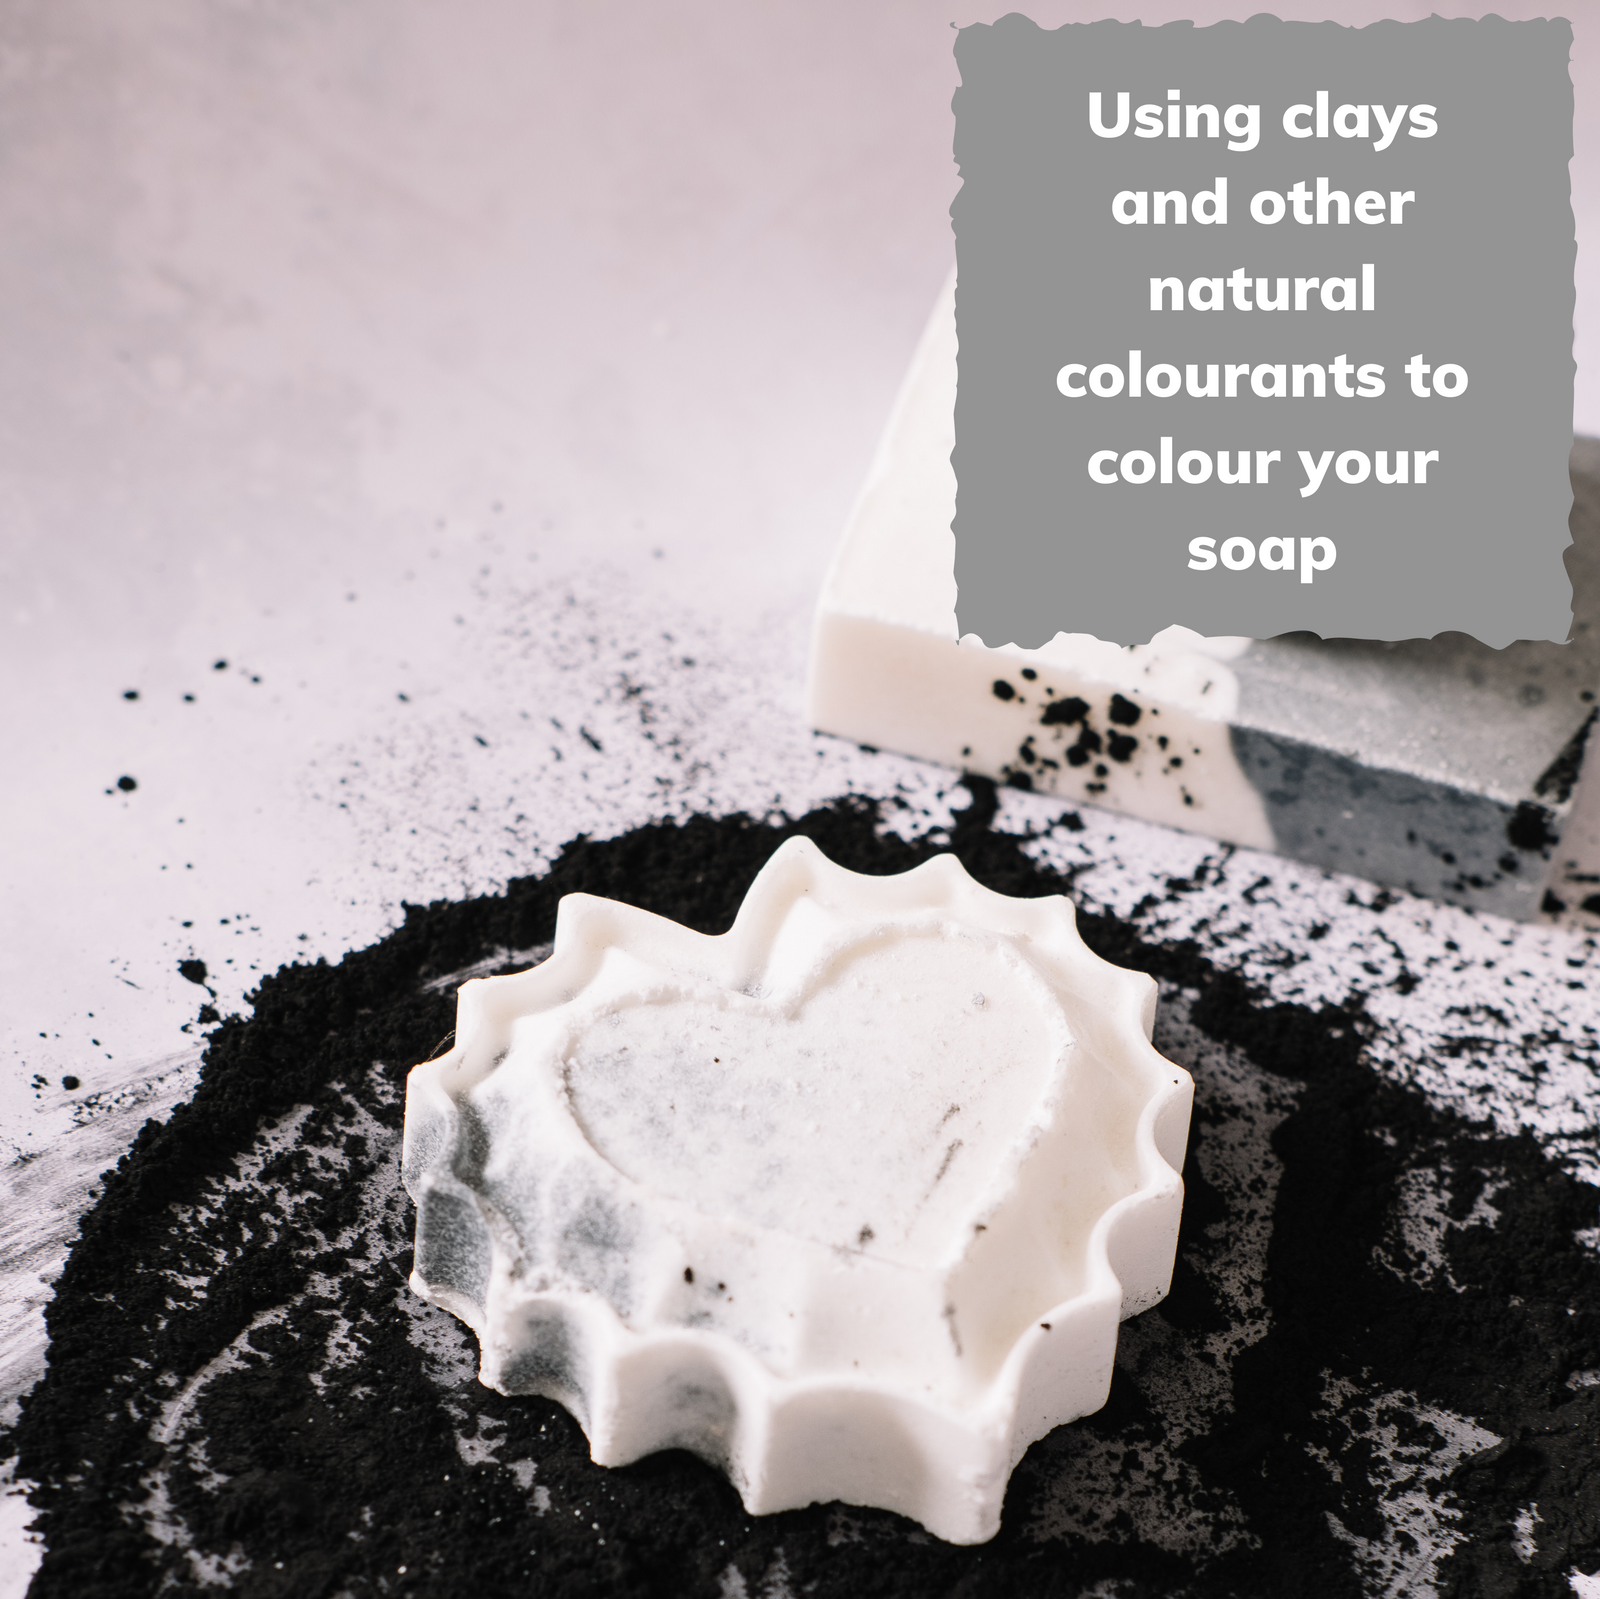
The cover image for this post is an example of soap coloured using activated charcoal.
Less common but beautiful additions include alkanet root for shades of purple, madder root for pinks and reddish colours, woad and indigo both give shades of blue/green and so the list goes on.
How do we colour handmade soap using natural ingredients?
There is no right or wrong way, much will be down to personal preference or the kind of ingredient you are using but there are 5 main methods.
Infusion in oils - this is where we quite literally infuse the colourant in a base oil, often olive oil for a number of weeks, it tends to work well for root based colours such as alkanet, madder and indigo root, it is also a good one for petals - calendula gives a lovely yellow. It is not something I use in my beginner soap making workshops as it just gives too many options to a course which is already information overload.
Add to lye water - again not something I teach but another option, it works well for powdered roots such as alkanet. The purple soap on the right in the picture above was created using this method. It gives a lovely speckled appearance too.
Add to oils - If you are looking to make a single colour soap this is your easiest option and one that I recommend. Mix your powder in to your liquid oil thoroughly before adding your lye water. This will give an even colour with no lumps and can give a deeper colour.
Add to soap batter after trace - this is the method I use most frequently in the workshops, primarily because I like to show students how to do layers or swirls and this method enables us to split our soap batter and colour just part of it. It can give a slightly speckled soap so for this reason I will normally ask students to put a few ml of the olive oil or other liquid oil from their recipe to one side prior to adding the lye water and to mix the clays or other powder in to that before adding it to the soap batter. Think of how you add cornflour to a small amount of liquid prior to adding to your sauce in cooking - it works on the same principle. This applies for all powders, clays, kitchen spices, cocoa powder etc. Just bear in mind that clays are very absorbant so you may need a little more oil for those.
Add to essential oils - this applies to clays more than any of the other options but there is a theory that allowing your clays to absorb the essential oils before adding them to your soap batter helps to 'anchor' the scent and give it more longevity. I have tried it myself and it does seem to help, the theory makes some sense to me at least. This will only work if you wish to colour all of your soap however you could use a white clay such as kaolin as well. It is well worth a try after all you have nothing to lose and it may well help in the scent department.
Quantities - there is no right or wrong, colour is a personal preference. As a guide start off with around 1 rounded teaspoon per 500g of oils and go up to 1 tablespoon. Much of this is about experimentation and that is also part of the fun. My key advice is to keep copious notes with every batch you make so that you are able to replicate it when you find that perfect colour.
Natural colourants do have a tendancy to fade over time and some more so than others, spirulina powder for example fades considerably in my experience and quite quickly, the clays and other non food based ones seem to be more stable and last several months. Something to bear in mind if you are making your soap well ahead of time however.
Temperature - the soap making process can cause the temperature of your soap to get up to around 180 degrees fahrenheit whilst the saponification occurs and this will affect the colour of your soap. For more information read this blog post about gelling. https://thesoapcoach.co.uk/blogs/on-my-soap-box/what-is-gel-phase-and-why-does-it-matter
Finally, if you are yet to make soap or this has inspired you to do so why not either book on to a soap making workshop here in Dorset or if you are too far away I also have a step by step video workshop available which will show you the process step by step with lots of useful hints and tips along the way. It is accompanied by my Soap Making Made Easy eBook and is great value.
Leave a comment